You can add multiple fields to one axis in your table. You have two different options for doing this: nesting the fields, and concatenating them.
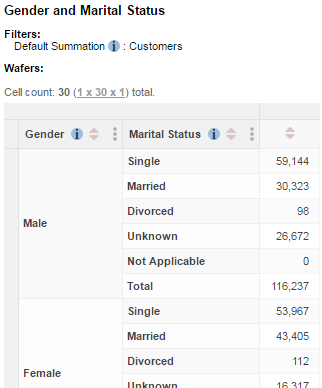
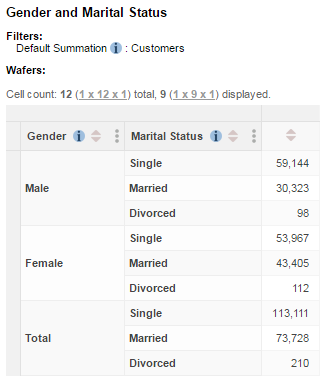
In this example, the Gender and Marital Status fields are nested on the row axis:
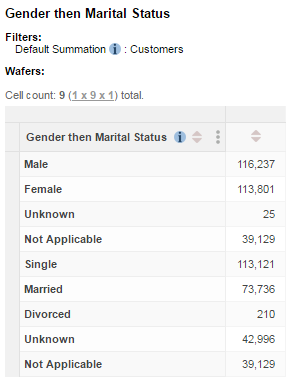
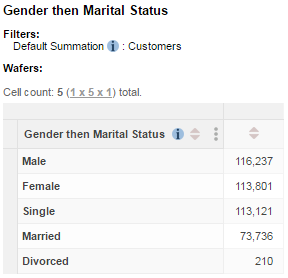
In this example, Gender and Marital Status are concatenated on the row axis:
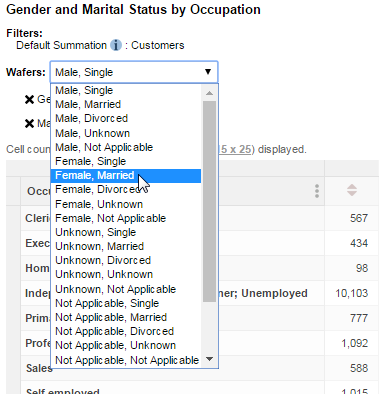
In this example, Gender and Marital Status are nested on the wafer:
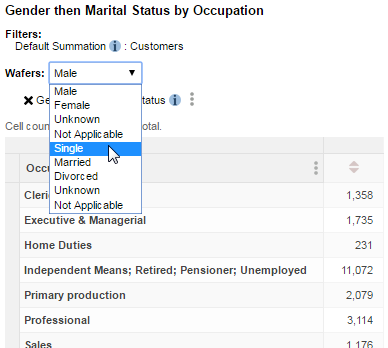
In this example, Gender and Marital Status are concatenated on the wafer:
Nesting Fields
There are two ways you can nest fields on an axis. The best one to choose will depend on whether you want to add all a field's items or whether you want to select specific items within the field.
Drag and Drop
This method is the quickest way to start building up a table. It adds all of the items for a particular field at once with a simple drag and drop technique.
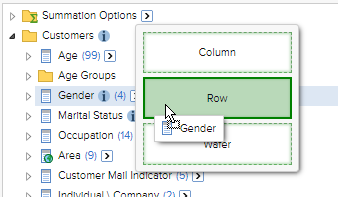
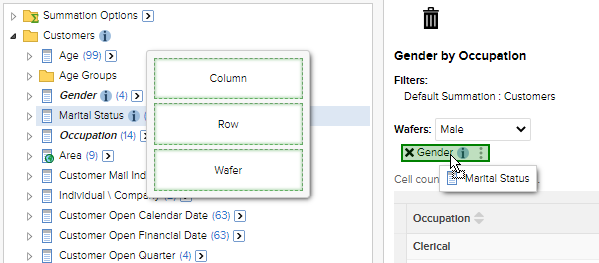
Click and drag the first field towards the table. As you start to do this, the Row, Column and Wafer options appear. Drop the field onto one of these options:
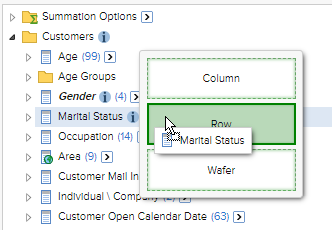
- Click and drag the second field onto the same option:
- SuperWEB2 nests the fields in the table:
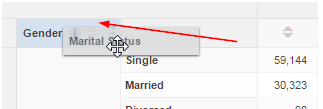
The first field you added will be nested at the outermost level; if you want to change this you can rearrange the fields within the table by dragging and dropping the field names:
Use the Add to Row or Add to Column Button
This method is a better option if you only want specific items from a field.
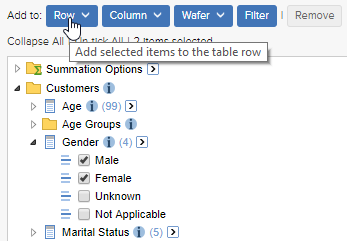
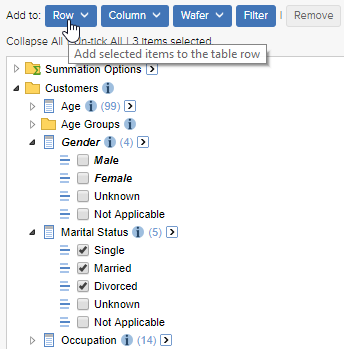
- Select the check boxes next to the items you want to add from the first field and click Add to Row, Column, or Wafer:
- Select the check boxes next to the items you want to add from the second field and click the button again:
- SuperWEB2 nests the fields in the table:
Concatenating Fields
There are two ways you can concatenate fields on an axis. The best one to choose will depend on whether you want to add all a field's items or whether you want to select specific items within the field.
Drag the Fields to the Table
This method is the quickest way to concatenate two fields in a table. It adds all of the items for a particular field at once with a simple drag and drop technique.
Click and drag the first field towards the table. As you start to do this, the Row, Column and Wafer options appear. Drop the field onto one of these options:
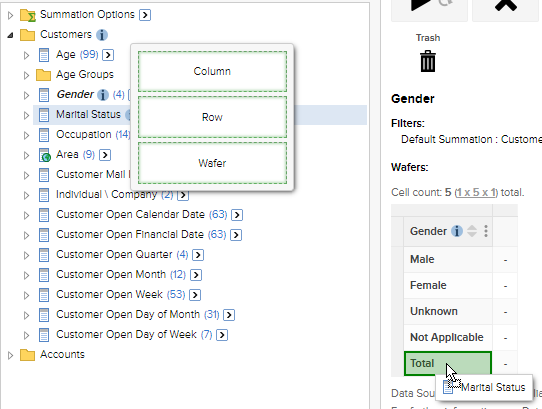
- Click and drag the second field. As you start to do this, drop zones become available inside the table on the last item of any existing fields. Drag and drop the new field onto the drop zone:
- SuperWEB2 concatenates the fields:
Select Field Items from Multiple Fields
This method can be a better option if you want to select which items from a field you are adding to the table.
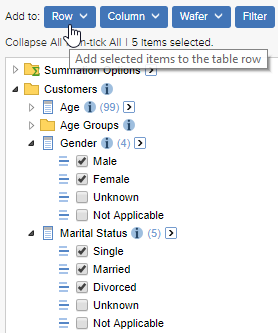
- Select the check boxes next to the field items from multiple fields, then click Add to Row, Column, or Wafer:
SuperWEB2 concatenates the fields in the table (the ordering is based on the order you selected the check boxes; in this example we selected items from the Gender field first):

